

Connect and enrol your Windows computers onto the Trinity network For computers that have previously been logged in to
The following information is applicable to staff and postgraduates who are already logged into a Windows computer and would like to connect and enrol the computer onto the Trinity wired network.
The steps are also relevant for staff connecting and enrolling a computer onto the Staff Wi-Fi network. For postgraduates looking to connect a computer to the Student Wi-Fi network only, please see our Student Wi-Fi guides instead.
If you are looking for the steps to connect and enrol a brand-new computer, that has never been started up, follow these steps instead.
If you are logged in to a Windows computer and would like to connect and enrol it onto the Trinity network, there are two stages that you must complete:
- Apply to connect the new computer to the network
- If you have been directed back to this webpage from the IT Services network request response email, then you have already completed this step
- Connect and enrol your computer onto the network
- This needs to be done from the computer using the below steps
Connection and enrolment steps
Once you receive the email from IT Services in response to your network request application, you can now complete the below steps on your new computer.
As part of these steps you will enrol your computer with Microsoft Intune so that it can be managed by IT Services for a range of security settings including operating system updates, encryption and anti-virus.
Enrolling your computer with Microsoft Intune is a strict requirement for any device connecting to the main wired network, Staff Wi-Fi or Staff VPN.
- Ensure your computer has an internet connection. Your options would be to connect to one of the below networks:
Once you connect an ethernet cable from your computer to a live network point in an office or lab, the wired network will automatically connect.
If you also plan to use the Staff Wi-Fi service, you can configure this connection at a later point.
To connect to the Staff Wi-Fi network, complete the following steps:
- Click the network icon on the taskbar in the bottom-right of your screen
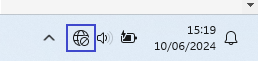
- The network icon can appear in one of three states depending on your current connection status:
 - No network connected
 - Wi-Fi network connected
 - Ethernet network connected
- The network icon can appear in one of three states depending on your current connection status:
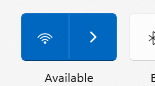
- View the list of Wi-Fi networks
- On Windows 10, once you click on the network icon you will immediately see the list of Wi-Fi networks
- On Windows 11, once you click on the network icon, you then have to click on the right-facing arrow beside the Wi-Fi icon to see the list of Wi-Fi networks
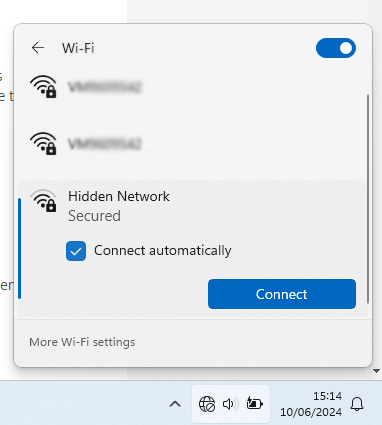
- Scroll down to the bottom of the list and select Hidden Network. Tick Connect automatically followed by the Connect button.
- If there are a large amount of Wi-Fi networks within range, you may have to scroll several times before seeing the option of 'Hidden Network'
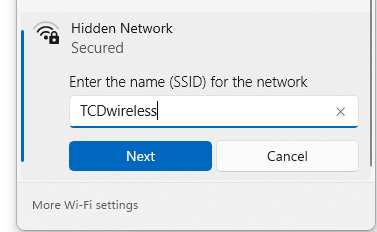
- You will then be prompted to enter the name (SSID) of the network. Enter TCDwireless followed by the Next button
- If there are a large amount of Wi-Fi networks within range, you may have to scroll several times before seeing the option of 'Hidden Network'
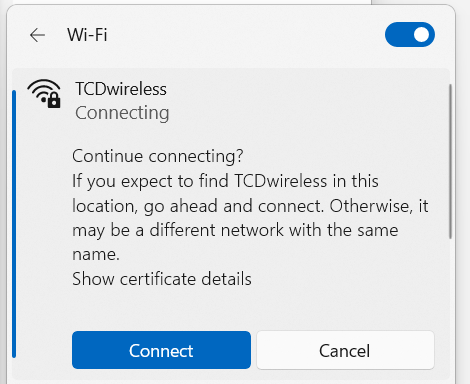
- At this point you may be prompted to confirm that you want to "Continue connecting?". Choose Connect
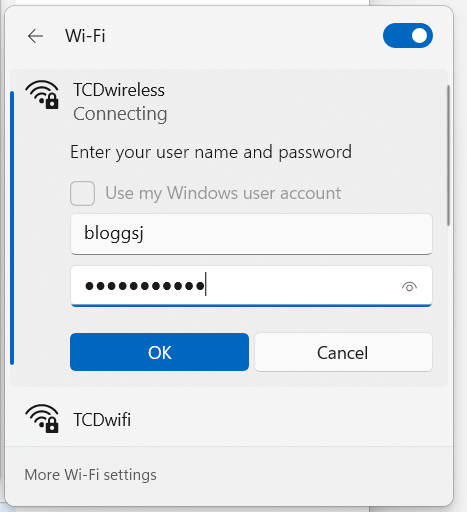
- Next enter your Trinity username and password followed by OK
- If again, you are prompted to confirm that you want to "Continue connecting?". Choose Connect
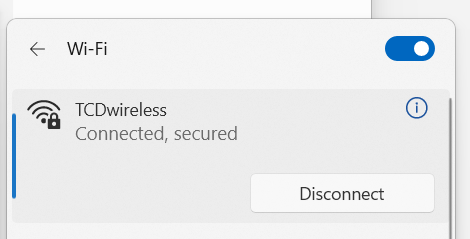
- You will then be connected to the TCDwireless (Staff Wi-Fi) network
Connect to any personal Wi-Fi network such as your home Wi-Fi.
If you plan to come on campus at a later point and use the:
- Staff Wi-Fi service, you will still need to configure this connection once you are on campus
- Wired network, simply connect a network cable from your computer to a live network point and you will be connected to the wired network automatically
- Click the Windows Start icon, then choose Settings
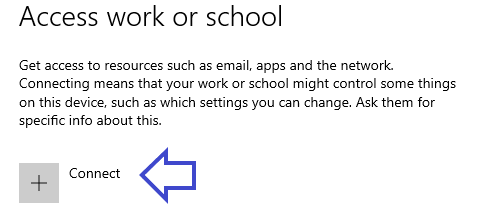
- Click Accounts followed by Access work or school
- Click the Connect button

or
- Leave the email address field blank, and click Join this device to Microsoft Entra ID

- If you don't see the 'Join this device to Microsoft Entra ID' option, it means your device is already connected and enrolled on the Trinity network and you don't need to proceed any further
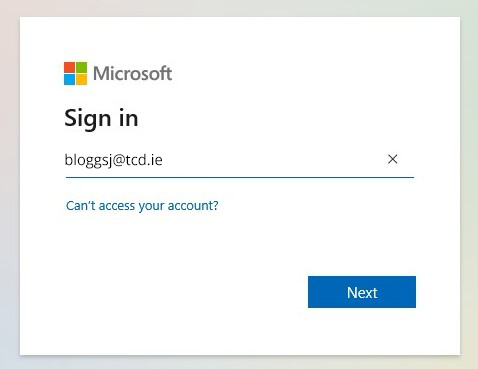
- Enter your Trinity email address and click Next
- Enter your password and click Sign in. You may be asked to complete a "Two Step Sign-In" challenge at this point
- Ensure the information in the Make sure this is your organization window is correct, then click Join
- If at at this point, you receive any error messages, first ensure you have entered a correct password in the previous step. Failing this, please contact the IT Service Desk for assistance

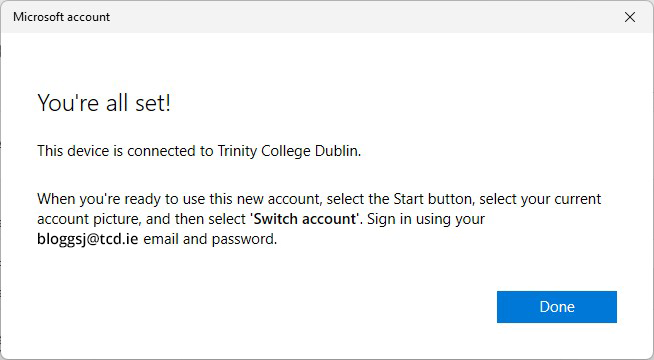
- The Please wait while we set up your device window will appear. When the You're all set! window appears, click Done
- Sign out of the Windows and then sign back in using your Trinity email and password. Your computer will now be connected and enrolled on the Trinity network
- Please note, signing into the computer using your Trinity credentials is a requirement while connected to the Trinity network. It also provides a better user experience and facilitates access to Trinity resources and services
- If the device is a personally owned computer, it is also possible to log in with a 'local' computer account for personal use
Next steps
Now that your computer is connected and enrolled on the Trinity network, IT Services will manage and deploy:
- Regular operating system updates
- Continuous, real-time anti-virus protection via Microsoft Defender
- Device encryption via BitLocker
You can install Microsoft 365 software such as Word, Excel and PowerPoint by following the steps on our How to install Microsoft 365 Apps webpage.
You may also want to install popular internet browsers such as Google Chrome or Mozilla Firefox.
If you are a Staff member and plan to work off-campus, you can now apply for a VPN connection. This will allow you to remotely access Trinity network services which are usually restricted to those who are situated in their office on campus.
Lastly, an optional step that you may want to do is to add another user as an 'Administrator' on the computer. This would be advisable if multiple people are planning to use the same computer, e.g., for a job-sharing role.
Should you need any further advice around installing software, please contact the IT Service Desk.