How to connect Windows to the Student Wi-Fi network
The Student Wi-Fi network will provide you with fast, secure internet access.
Those using the service are assumed to have read and agreed to the terms and conditions of the service.
In order to successfully follow the steps below, you must be in an area of Trinity with Wi-Fi coverage.
Connection steps
- Click the network icon on the taskbar in the bottom-right of your screen

- The network icon can appear in one of three states depending on your current connection status:
 - No network connected
 - Wi-Fi network connected
 - Ethernet network connected
- The network icon can appear in one of three states depending on your current connection status:
- View the list of Wi-Fi networks
- Once you click on the network icon, you then have to click on the right-facing arrow beside the Wi-Fi icon to see the list of Wi-Fi networks

- Once you click on the network icon, you then have to click on the right-facing arrow beside the Wi-Fi icon to see the list of Wi-Fi networks
- Select the Wi-Fi network called TCDwifi from the list
- At this point you may be prompted to confirm that you want to "Continue connecting?". If prompted, choose Connect
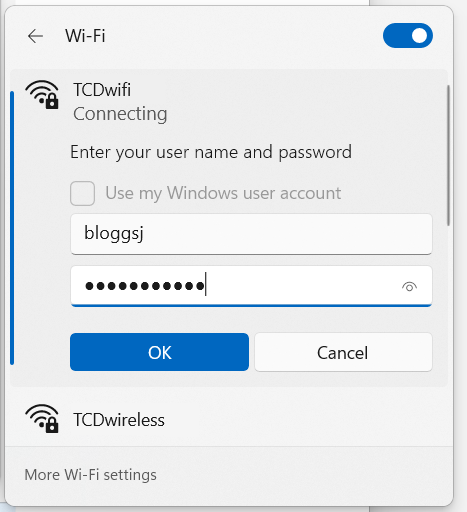
- Next enter your Trinity username and password followed by OK
- The username should be entered in the form 'bloggsj' and not 'bloggsj@tcd.ie'

- If again, you are prompted to confirm that you want to "Continue connecting?", choose Connect
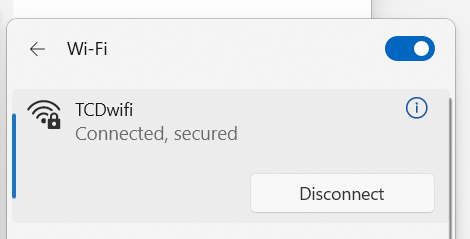
- You will then be connected to the TCDwifi (Student Wi-Fi) network


